
Add an Asset
Create one Asset in Discovery or Inventory and verify its saved identity.
Outcome: Create one Asset in the intended workspace and reopen it to confirm the saved values.
For: Customer administrators and engineers
Permission: create assets
Time: About 5 minutes
Changes made: Creates a shared Asset record
If you're stuck
- Confirm you opened Functions → Assets → Inventory and selected + Add Asset → Add Manual Asset.
- If + Add Asset is missing, ask an administrator to add
create assetsto your Role. - If a field is missing, recheck the selected Asset Type; each type supplies a different form.
- If Add Asset stays disabled, complete every field marked as required and resolve any dependent choice that was cleared.
Before you start
- Search Inventory and Discovery for the proposed name and source identifier to avoid a duplicate.
- Know whether the record should enter Inventory as maintained data or Discovery for review.
- Confirm the Asset Type before entering type-specific details. Changing it can replace the visible field set.
- Never enter a password, credential, token, or secret in a name, tag, identifier, or free-text field.
Field and option guide
Information you need
| UI label | What to enter or choose | Where the value comes from |
|---|---|---|
| Asset Type | Required. Choose the existing type that defines the Asset's fields and icon. | Your data model or administrator. |
| Status | Required. Choose Inventory for a maintained Asset or Discovery for a record that still needs review. | Your team's review process. |
| Asset Name | Required. Enter a durable name that distinguishes this Asset from similar records. | Approved inventory or source system. |
| Data Tags | Optional. Add searchable labels using your team's naming convention. | Your tagging standard. |
| Structure Tags | Optional. Select an existing Structure Tag that places the Asset in the intended hierarchy. | Functions → Structures. |
| Type-specific fields | Complete every field marked required. Formats and choices come from the selected Asset Type. | Source records, the accountable owner, or a Service Catalog. |
What happens next
| UI label | Example | Where it appears after saving |
|---|---|---|
| Asset Type | Router | Asset header, Type column, and detail tabs. |
| Status | Discovery | The matching Discovery or Inventory tab. |
| Asset Name | edge-router-01 | Search, Table, Map, Graph, and Relationship Graph. |
| Data Tags | environment:production | Asset details and supported filters. |
| Structure Tags | East Region | Asset details and Structure context. |
| Type-specific fields | Serial number or model | Asset Type-specific detail tabs. |
Interactive walkthrough
Open the walkthrough in a new window.
Create the Asset
- Open Functions → Assets → Inventory (
/assets/inventory). - Select + Add Asset, then Add Manual Asset.
- Find and choose the Asset Type. Use Cards when the icon and description help distinguish similar types, or switch to List to scan names in a compact table. All, Global, and Custom filter the picker; they do not change the saved Asset.
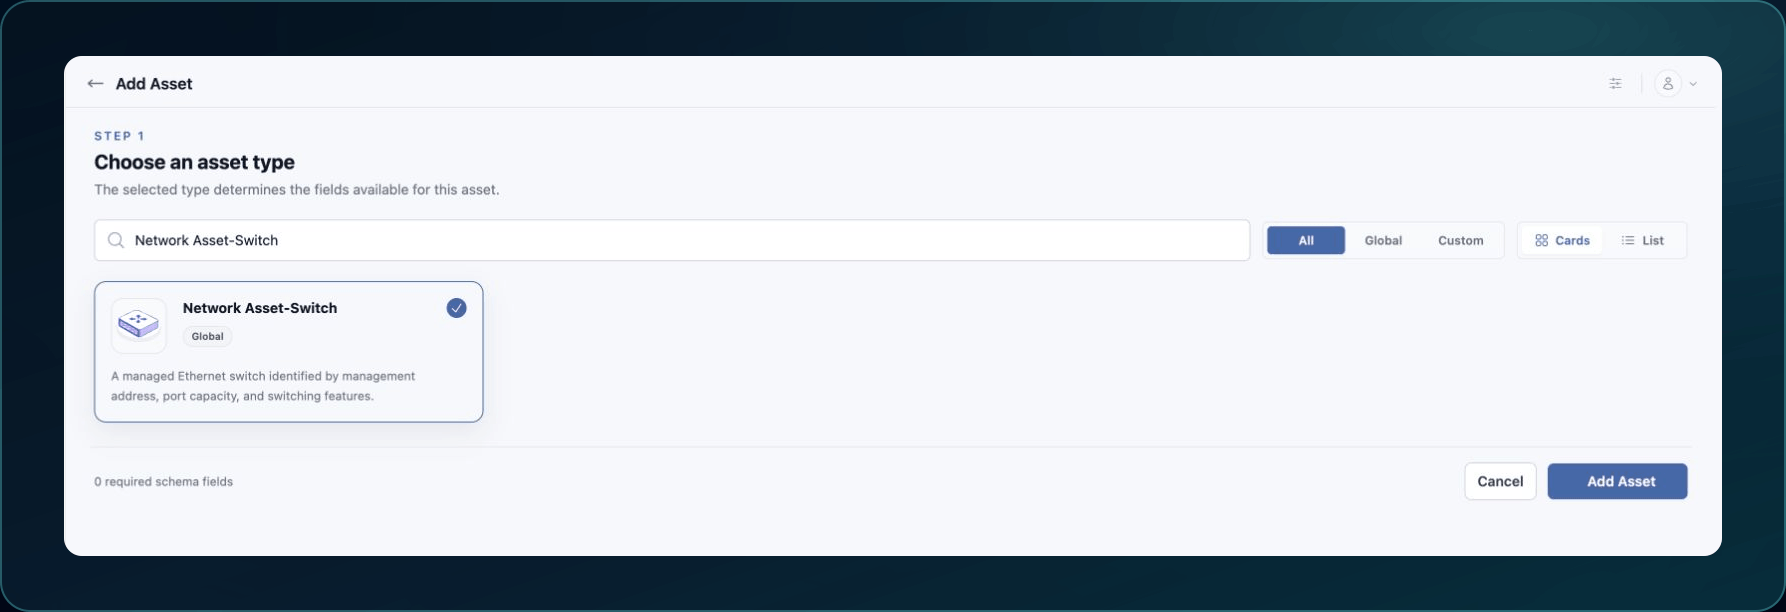
The Cards view keeps each Asset Type's icon and explanation visible. The blue outline and check mark identify the current selection.
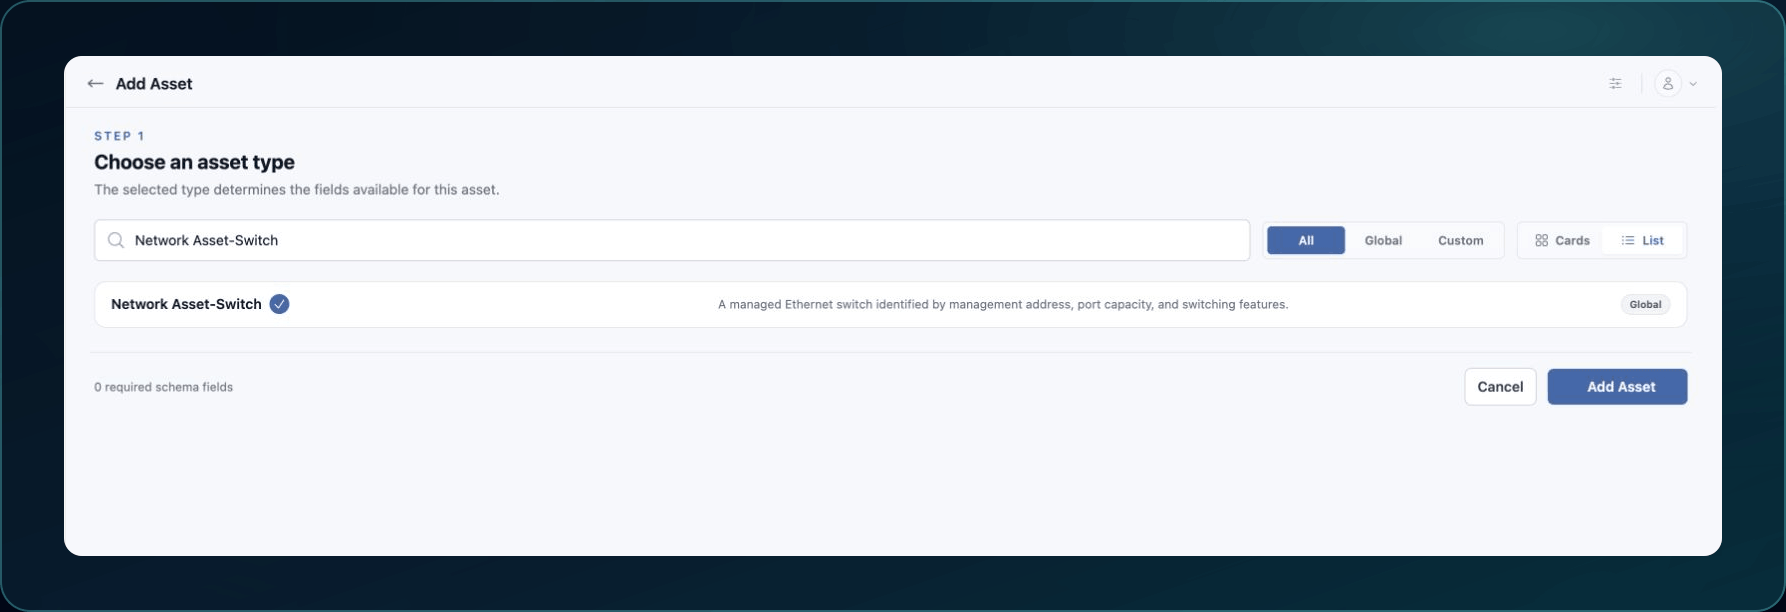
The List view shows the same Asset Types and selection in a denser layout. Switching views does not clear the selected type, search, or Global/Custom filter. Recheck the form after selection because its fields can change.
- Choose Inventory or Discovery under Status.
- Enter Asset Name exactly as users should search for it.
- Add approved Data Tags and Structure Tags. Do not create a new spelling of an existing tag.
- Complete the required type-specific fields. For a catalog-backed field, select an existing catalog entry rather than typing a near-duplicate.
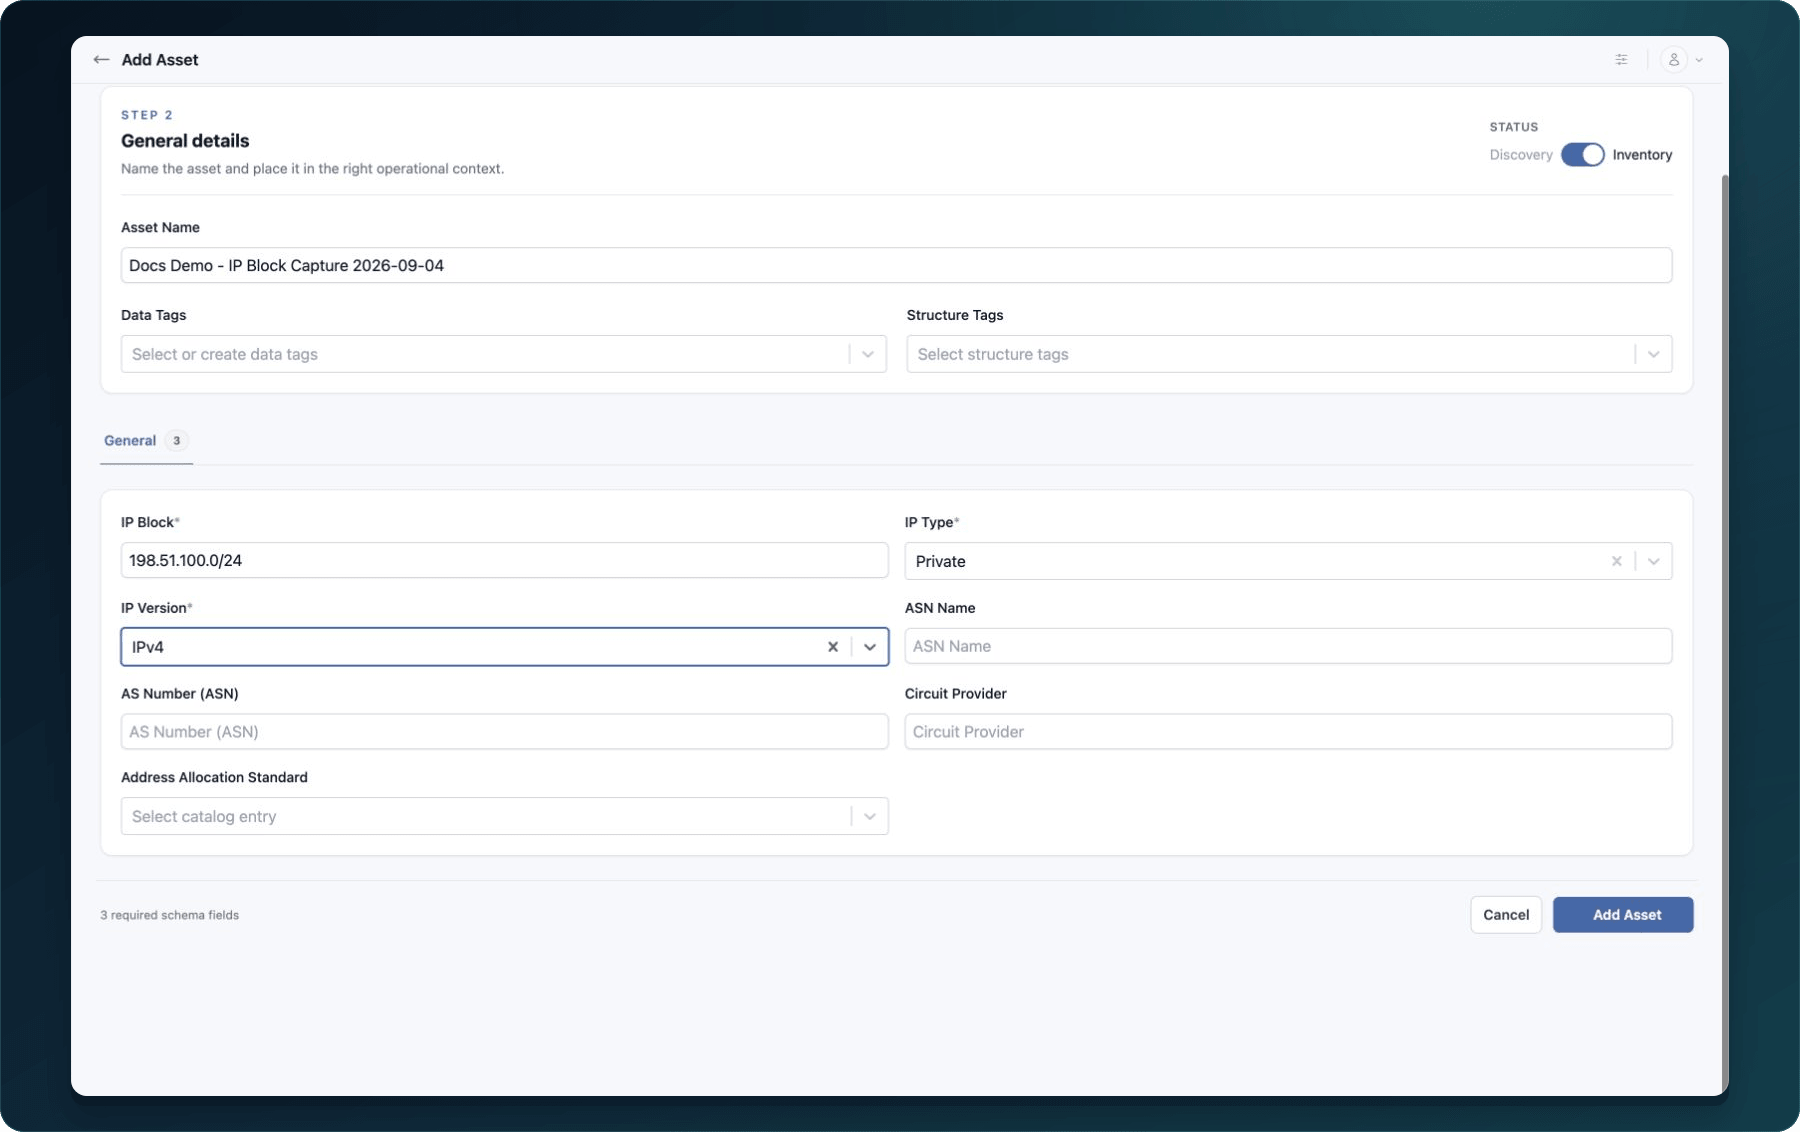
After the type is selected, confirm the Selected Type summary before entering data. In this example, Manufacturer and Model are catalog-backed choices, while OS Version, Firmware Version, Serial Number, and Switch Name are fields supplied by the Asset Type. Your fields can differ because administrators configure each Asset Type.
- Select Add Asset.
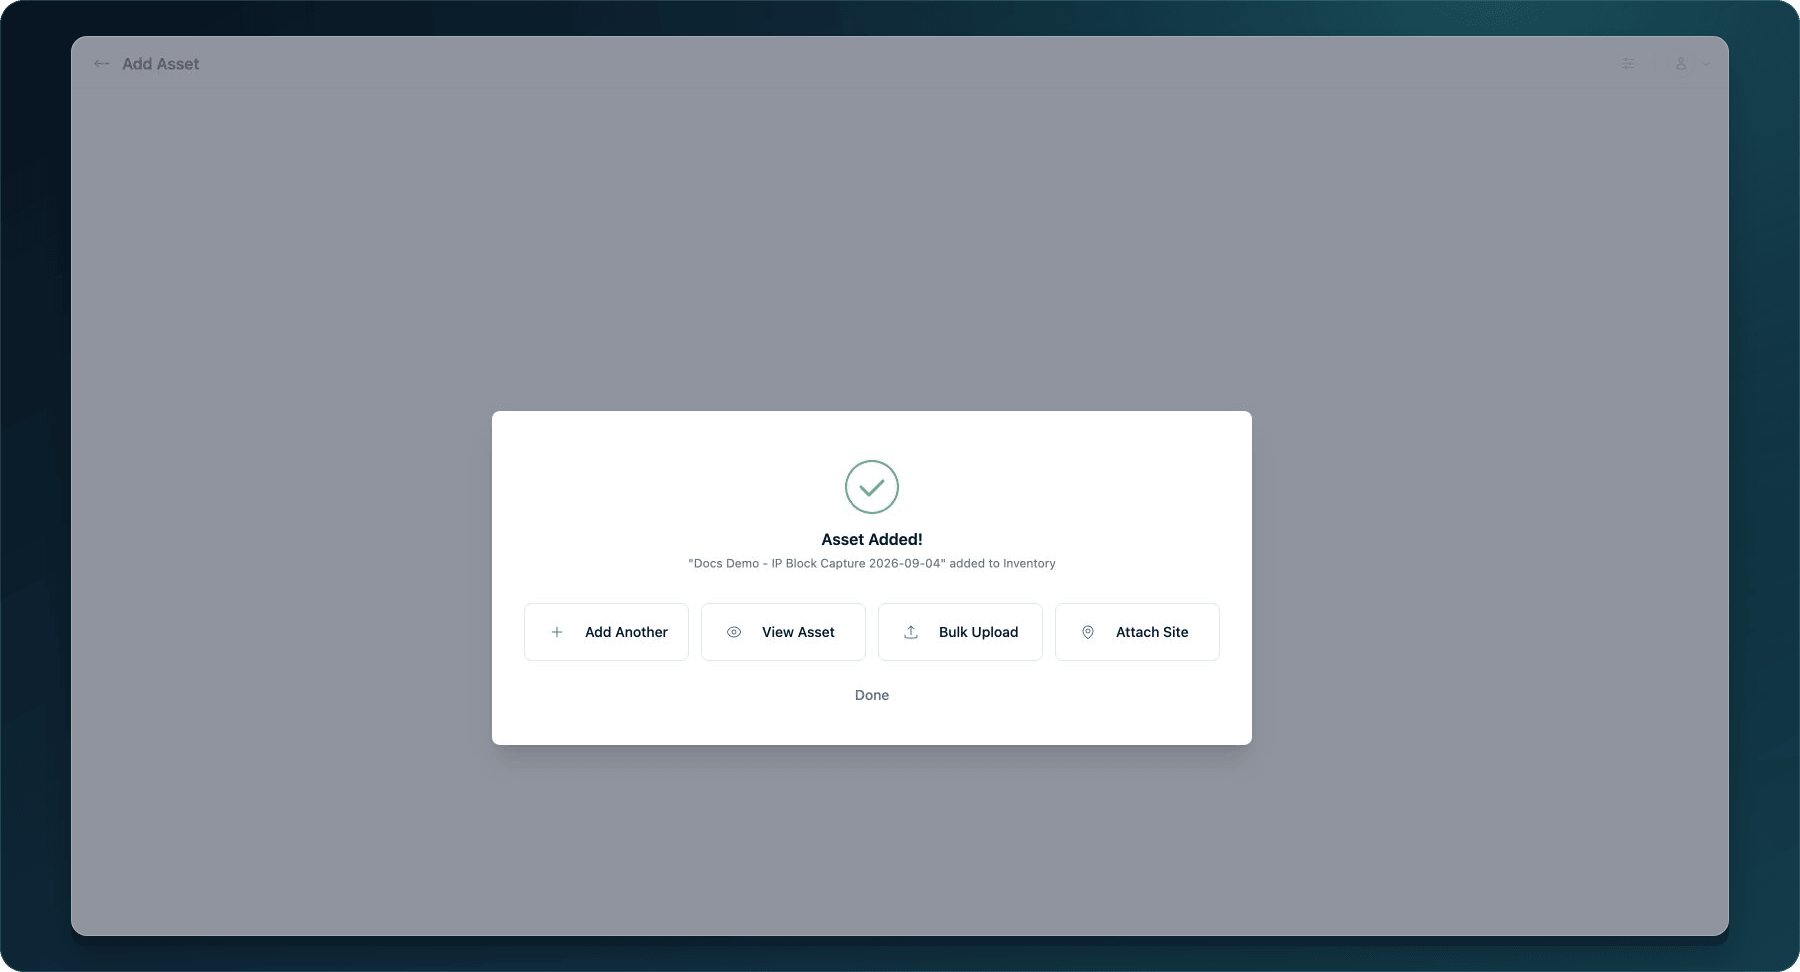
Expected result: WanAware displays Asset Added! and identifies whether the record was added to Inventory or Discovery.
If the save fails, keep the form open, record the exact error, and correct only the named field. If no field is named, copy the non-secret values before refreshing so you can retry without guessing.
- Select View Asset to inspect the record, Add Another to keep the same workflow open, or Done to close it.
Verify
- Open the tab selected under Status.
- Clear old search text and filters.
- Search for the exact Asset Name.
- Open the result and confirm its Asset Type, status, tags, and required details.
- Refresh the page and confirm the same values remain.
Undo this change
Correct an editable value and save again. If the record should not exist, follow Delete Assets safely after checking Relationships, Structure Tags, and Collection membership. Do not delete a record merely to change a field.
Learn and continue
- Learn: Add or import Assets
- In WanAware: Open
/assets/inventory, then select + Add Asset → Add Manual Asset.
Next steps
Get help
Email [email protected] with your company, affected user, Asset Type, intended status, page URL, timestamp and time zone, reproduction steps, and exact error. Include the Asset ID if one was created. Never send passwords, credentials, access tokens, or secret values.
Updated about 2 months ago